ASUS ZenScreen MQ16FC Review: A Near-Perfect OLED Portable Monitor
Some of the links in this post are affiliate links, which means I may earn a small commission if you choose to make a purchase at no extra cost to you. As an Amazon Associate, I earn from qualifying purchases. Read my full Ethics & Affiliate Relationship Disclaimer.
Portable monitors usually make you compromise somewhere. Maybe the panel is mediocre. Maybe the color is off. Maybe the setup is a mess of cables and adapters. The ASUS ZenScreen MQ16FC gets a lot closer to the sweet spot than most of them do.
It is a 16 inch OLED portable monitor that feels lightweight and practical without coming across as flimsy. More importantly, it nails the part that actually matters for creative work: the display. If you care about color accuracy, HDR support, and having a second screen that is genuinely useful on the go, this one stands out fast. It is not perfect though. The biggest tradeoff is sharpness, especially if you use a Mac every day and you are used to a Retina display. That is the part you need to understand before spending checking the current price here.
First Impressions: Lightweight, Simple, And More Flexible Than It Looks
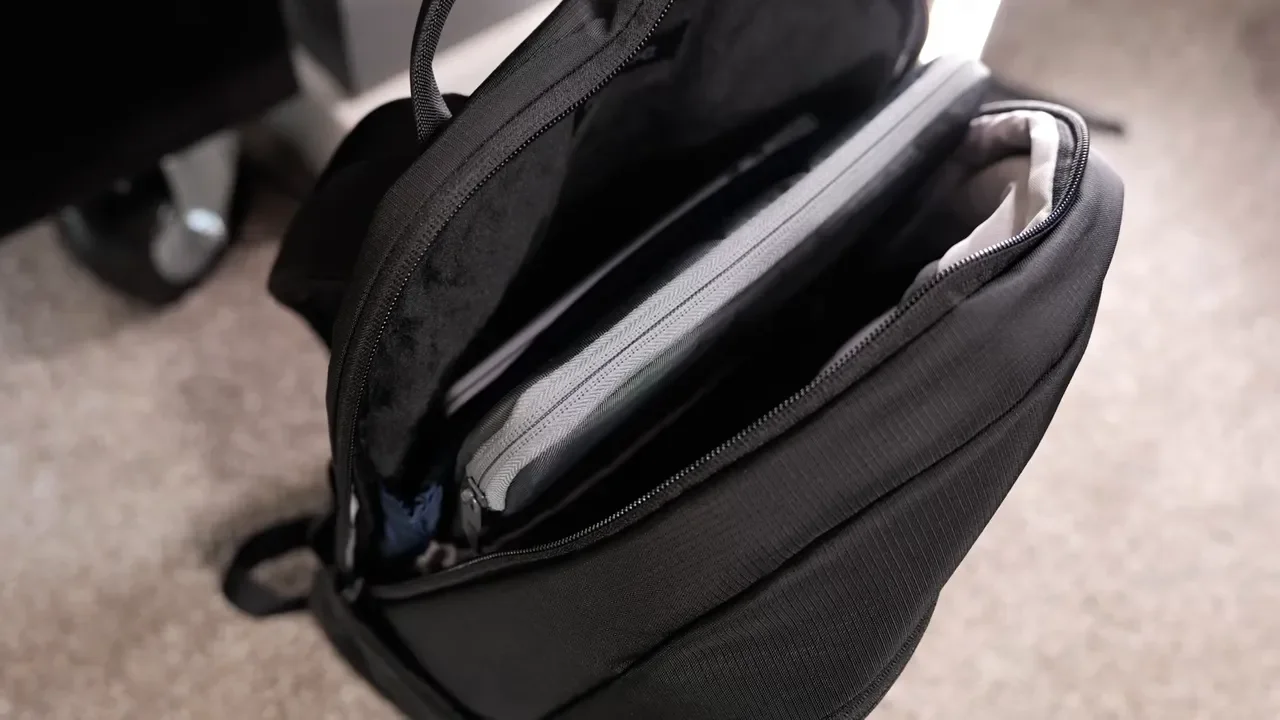
The MQ16FC is mostly plastic, but it does not feel cheap. That matters because a lot of portable accessories win on spec sheets and lose the second you pick them up. This one feels nicely put together. It weighs about 1.5 pounds, so throwing it in a backpack is no big deal. The built in kickstand folds out easily, and ASUS also added a quarter-20 mount on the back. That gives you more flexibility if you want to mount it on a stand or incorporate it into a more permanent desk setup.
One of the most useful features here is the orientation support. You can use it in landscape like a normal external display, but it also has an auto-rotate sensor so it can switch into portrait mode when you turn it. For anyone working with documents, chat apps, browser windows, or vertical timelines, that is a genuinely helpful feature instead of a gimmick.
Ports, Power, And What Comes In The Box
ASUS kept the port selection pretty straightforward. On the side you get:
A headphone jack
Two USB-C ports
A mini HDMI port
The power and control buttons

The USB-C setup is the best part. With a compatible device, one cable can handle both power and video. That makes the monitor feel clean and modern to use, especially with a MacBook Air or other USB-C laptop. The mini HDMI port is less exciting. It is useful if you want to connect a console or another device that does not support USB-C video, but mini HDMI is still annoying because it means carrying the right cable.
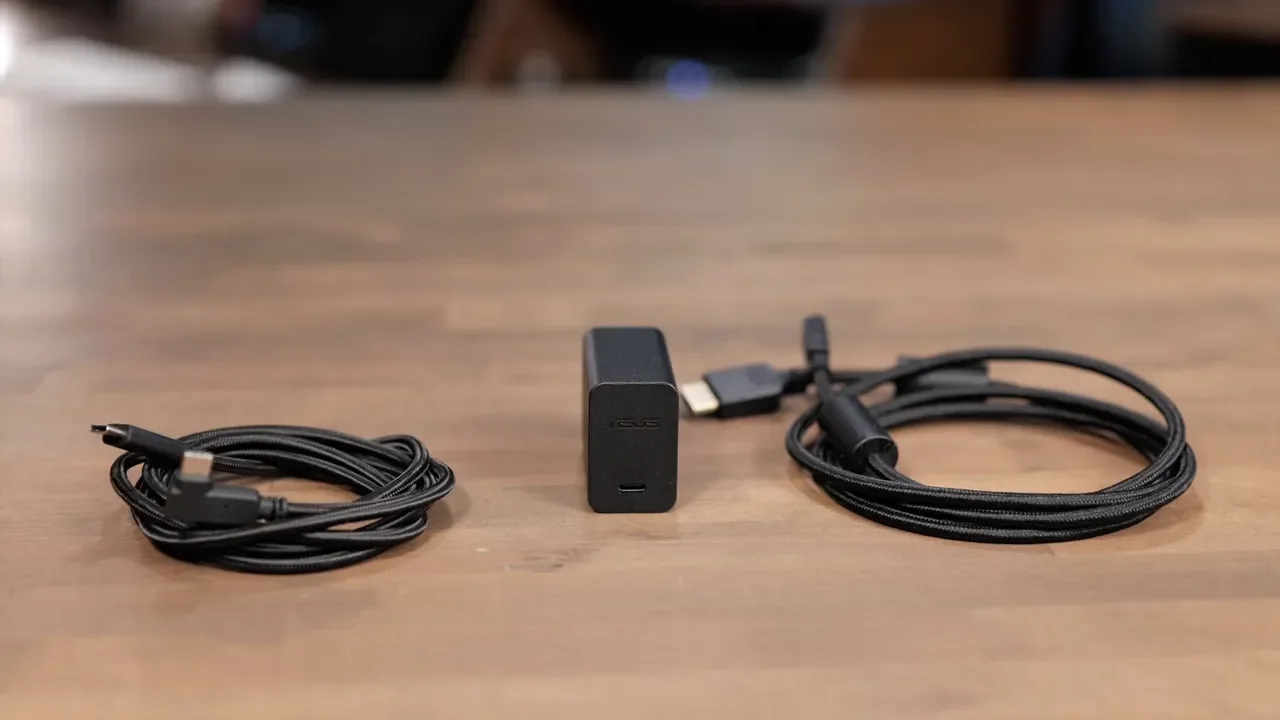
Thankfully, ASUS includes the essentials in the box:
A braided USB-C cable
A full size HDMI to mini HDMI cable
A power adapter
A storage sleeve
The sleeve is a nice addition, although I still think this design would be stronger if the stand doubled as screen protection. Some portable monitors do that well, and it is one less thing to carry.
Setup Is Easy, As Long As Your Device Supports The Right Standard
Using the MQ16FC is about as simple as it should be. Plug in the included USB-C cable, give it a second to wake up, and your computer should detect it automatically. The key requirement is USB-C DisplayPort Alt Mode. Most modern Macs and PCs support that, so compatibility should be broad. It also works well with devices like an iPad Air and iPad Pro.

If you are connecting something else through HDMI, the display can handle that too. Just remember that mini HDMI is the connection on the monitor side, so pack accordingly.
No Built In Battery Means You Need To Think About Power
One thing to know before buying: there is no internal battery here. That means the monitor draws power from whatever it is connected to unless you feed it power separately. For short sessions, that is not a big deal. For long stretches away from an outlet, it matters.
You have a couple of ways to run it:
Let your laptop power the monitor directly
Plug power into the monitor, then run the second USB-C port back to your computer
That second setup is useful because the monitor can pass power through to your laptop at up to 65W. To get the full 65W pass through, you need to use a 90W charger. If you work untethered often, a power bank is worth considering as part of the full setup.
The OLED Panel Is The Whole Reason To Buy This
The display quality is where the MQ16FC really earns its price. You get a 1920 by 1200 OLED panel with a 16:10 aspect ratio. That extra vertical space compared to 16:9 is surprisingly helpful in real work. You have a little more room for timelines, browser tabs, tool panels, and documents without things feeling cramped. Color is the bigger story. ASUS rates it at 95 percent DCI-P3, and that is what makes this monitor compelling for creators. For photo work, video editing, content consumption, or anything color-sensitive, the panel gives you a much nicer experience than the typical budget portable display.

It also supports HDR, which helps it pull ahead of most portable monitors in this price range. If you need a secondary screen that can act as a more trustworthy color reference, that matters a lot. This is also where the monitor feels most at home. Use it for photo review, media playback, or creative support work, and the OLED panel makes a strong case for itself very quickly.
The Main Tradeoff: Resolution And Text Sharpness
Here is the catch. The resolution is 1920 by 1200, and if you are a Mac user, you are almost definitely going to notice that. Coming from a Retina display, text looks softer on the MQ16FC. It is not unusable, and it is not really a spec failure on its own. It is more that your eyes are trained by years of looking at sharper laptop screens. That difference becomes obvious when you put the ZenScreen next to a MacBook. Fine text is a little less crisp, and that can make long reading sessions feel less comfortable.

For me, that does not automatically kill the product. It just defines the role this display is best at. If this is your main and only screen, you may find yourself wishing it were sharper. If this is your second screen, especially for media, reference material, chat, browser windows, or creative side panels, you adjust to it pretty fast.
How I Would Actually Use It With A MacBook
The best way to work around the sharpness limitation is simple: keep your primary work on the MacBook screen and use the ZenScreen for supporting windows. That setup makes a lot of sense because the MacBook keeps the crisp text and main workspace, while the OLED monitor handles everything that benefits from extra space or better color.
A great example is video editing. When working in Final Cut Pro, having the clip browser or supporting media on the second display speeds things up more than you might expect. One of the slowest parts of working on a laptop alone is constantly juggling windows and losing access to the clip browser. Giving that a dedicated screen makes the workflow smoother immediately.

That same idea applies to a lot of creative work:
Keep your timeline or main canvas on the laptop
Move browser research to the external display
Use it for chat, notes, or reference images
Preview photos or footage on the OLED panel
At a normal desk distance, the resolution issue bothered me less than I expected. For the right role, the OLED quality more than makes up for it.
Portrait Mode Is More Than A Nice Extra
The auto-rotate feature makes this monitor more versatile than a lot of portable displays. Turn it vertically and it can automatically reorient. That is especially useful for:
Reading long documents
Keeping Slack or chat apps visible
Browsing web pages
Working with vertical content or lists
Being able to swap between landscape and portrait without friction makes the monitor feel more adaptable in everyday use.

Brightness And Outdoor Use
Indoors, the MQ16FC is totally fine. The panel is rated at 300 nits, which is enough for most normal desk setups. Near a window, you may need to shift the angle a bit to avoid glare. That is not unusual for a glossy OLED panel, but it is worth keeping in mind. Outdoors is where I would draw the line. In bright conditions, it simply is not bright enough to be something I would rely on. If your idea of portable means coffee shops, offices, hotel desks, or home setups, no problem. If it means direct daylight, this is not the right fit.
The On Screen Controls Are Fine, But The Software Is Better
The monitor has full on screen display controls, but I was not a huge fan of the physical buttons. They are a bit stiff, and the joystick can be picky about how you press it.
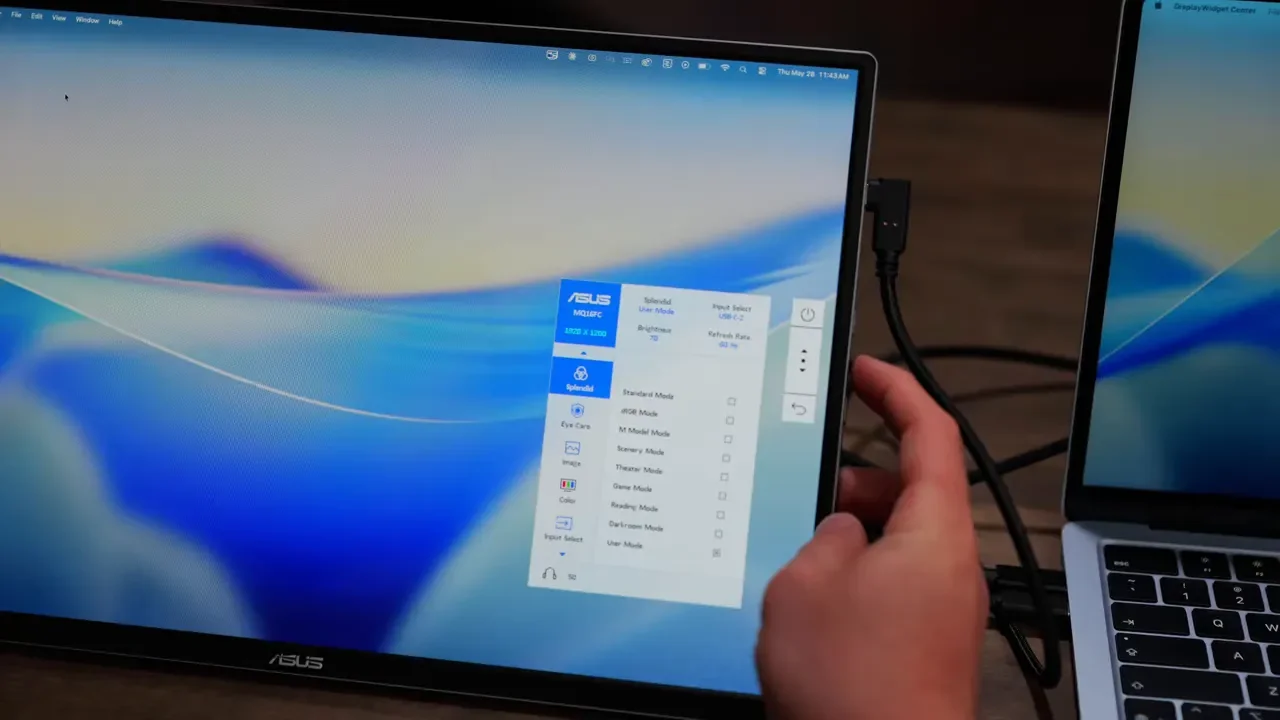
The good news is that on a Mac, ASUS DisplayWidget Center makes this a lot easier. Through the software, you can adjust:
Brightness
Color modes
Blue light settings
Auto orientation on or off
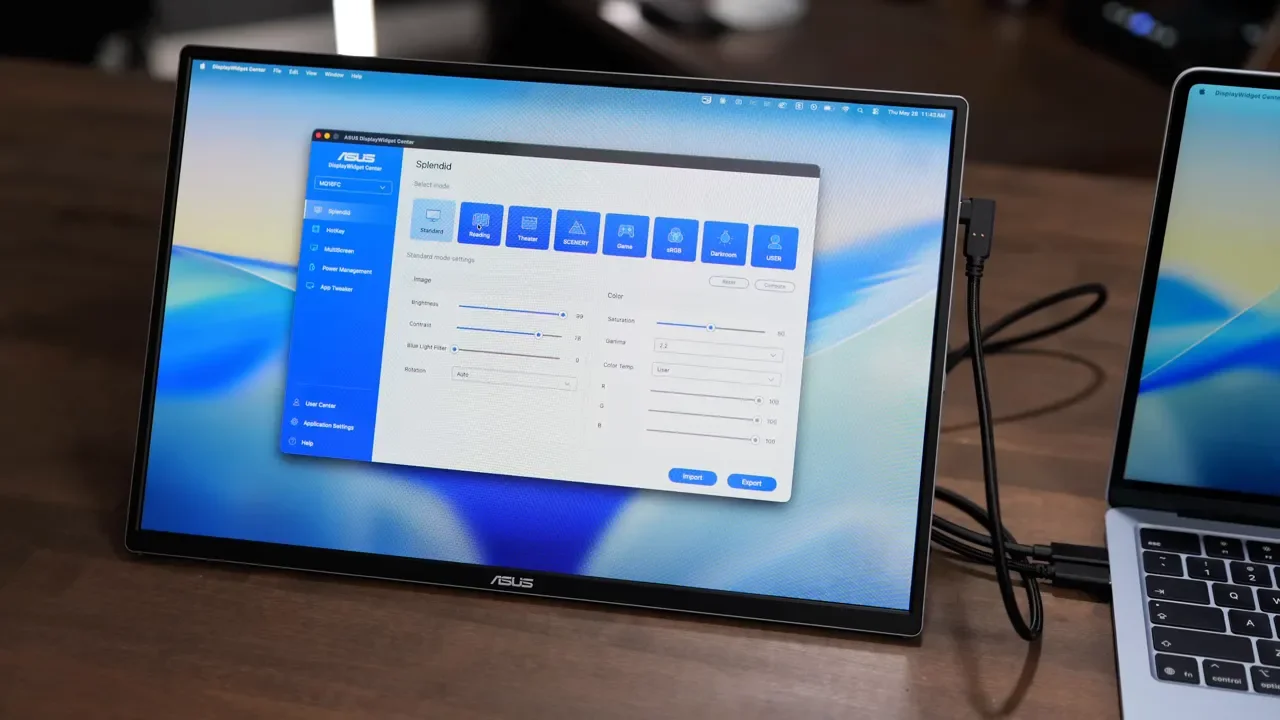
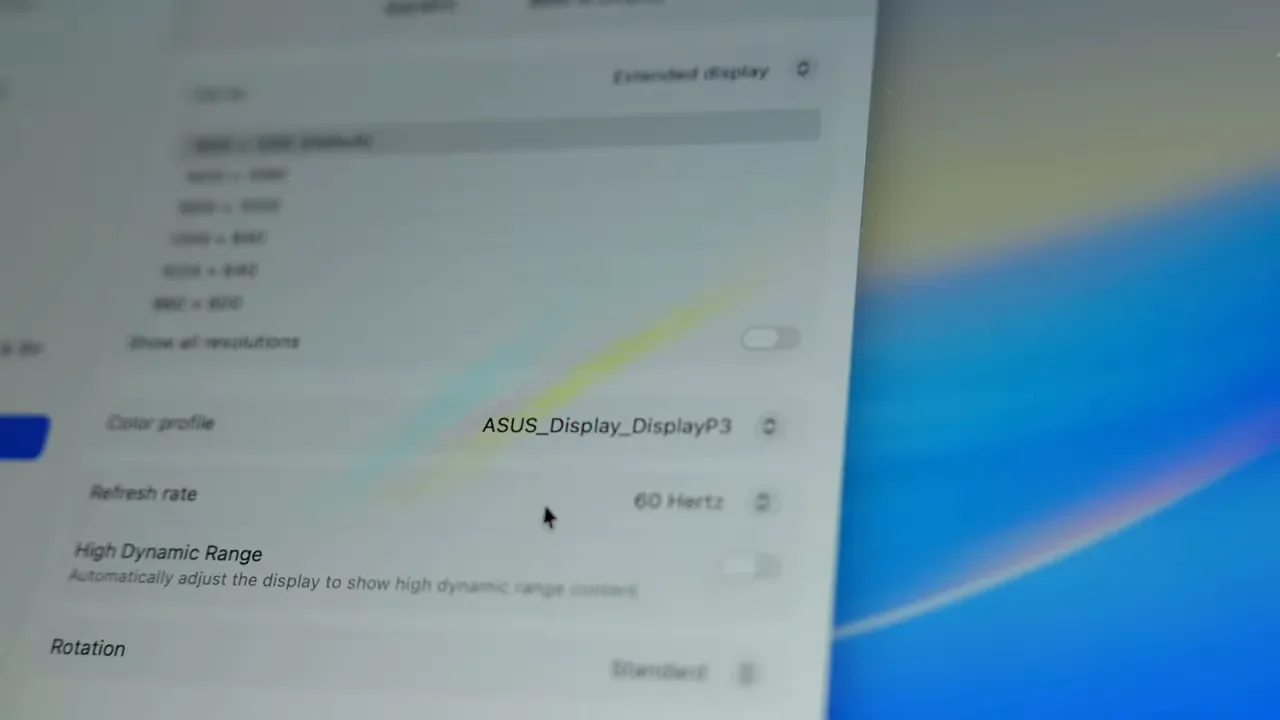
Even better, if that software is enabled, the Mac brightness keys can control the monitor too. That makes the whole experience feel much more integrated. If you are using it with a Mac, I would definitely install the software and then go into display settings to set the monitor to the DCI-P3 color profile. That helps it match your Mac much more closely.
Audio Support Is Limited In A Very Specific Way
There is a headphone jack on the MQ16FC, and your Mac will recognize it as an audio output device. Just do not expect built in speakers, because there are none. So yes, you can route sound through the monitor to headphones. No, the display itself will not play audio out loud. For most portable monitor use cases that is not a huge problem, but if you want a one-cable all-in-one desktop experience, it is a limitation.
What You Are Actually Paying For At $280
At around $280, this monitor is not the cheapest portable option out there. You can absolutely find lower priced alternatives online.
What you are paying for here is a specific package:
OLED panel quality
95 percent DCI-P3 color coverage
HDR support
Useful Mac software integration
A longer three year warranty
That warranty is worth mentioning because many competing portable monitors only give you a year. ASUS also includes three months of Adobe Creative Cloud. If you already subscribe annually, those extra months can simply extend the back end of your subscription, which is a nice creator-focused bonus.
Who This Portable Monitor Is Actually For
The MQ16FC makes the most sense for a pretty specific kind of buyer.
This is a great fit for:
Creators who need better color accuracy on the go
Photographers reviewing images away from a desk
Video editors who want a dedicated secondary screen
Mac mini users who want a smaller color-accurate companion display
Anyone building a compact desk setup without adding a full size monitor

It can also work well for smaller desktop expansion if you are doing research-heavy work, app juggling, or even compact AI and productivity workflows where a second screen helps without taking over your desk.
This is probably not the best fit for:
People who care most about text sharpness above everything else
Anyone needing a very bright outdoor-friendly screen
Buyers who want the cheapest possible portable monitor
People who need built in speakers
Final Verdict
The ASUS ZenScreen MQ16FC gets a lot right. It is lightweight, easy to travel with, works over a single USB-C cable, supports portrait mode, and most importantly gives you an OLED panel with genuinely useful color accuracy. That is what makes it stand out.
The main compromise is text sharpness. If you are coming from a MacBook and expecting Retina-like crispness, you are going to notice the softer 1920 by 1200 resolution. Whether that is a problem really depends on how you plan to use it. As a dedicated secondary creative display, it makes a strong case for itself. As a primary display for lots of reading and text-heavy work, it is harder to recommend without hesitation. So no, it is not perfect. But for creators who value color, portability, and a simple one-cable setup, it gets surprisingly close.